Is Your Ceramic Disc Faucet Leaking? (Here’s How To Clean & Fix It!)
In 3 easy steps for any beginner, I’m going to show you exactly how to fix and clean a leaking ceramic disc faucet. I’ll even tell you how it works and when to know if it needs repair (hint: it’s leaking at the base of the lever).
How Does a Ceramic Disc Faucet Work?
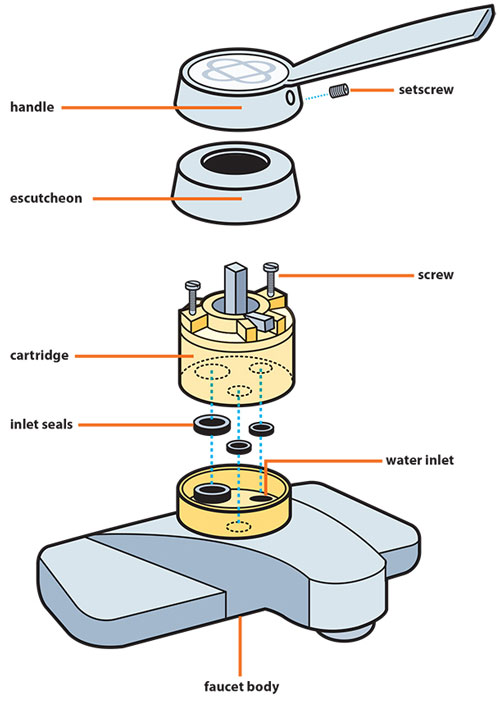
When you raise the faucet lever of a ceramic disk faucet, the upper disk in the cartridge slides across the lower disk, allowing water to enter the mixing chamber.
The higher you raise the lever, the more water entered through the inlet ports of the faucet body. Moving the lever from side to side determines whether hot or cold water — or a mixture of the two — comes out of the spout.
When Should I Replace a Ceramic Disc Faucet?
The disc assembly, generally made of long-lasting ceramic material, rarely needs replacing.
Over time, however, mineral deposits can clog the inlet ports. If this happens, you’ll need to disassemble the faucet and scrape away the crusty buildup.
If the faucet leaks at the base of the lever, one or more of the inlet seals on the cartridge may need replacing. While the faucet is dismantled, it’s a good idea to replace all the seals. If one is worn, the others don’t have long to live either.
Instructions: Ceramic Disc Faucet Leaking
Before you start, get the brand name of your faucet from the faucet body or bring it with you to the hardware store or plumbing supply center. A repair kit with the parts you need is probably available.
This DIY plumbing project will take about 1 to 2 hours. But the job requires no special skills. You can handle it if you’re a beginner or moderately experienced. Here are the tools you’ll need:
- Small screwdriver
- Large screwdriver
- Groove-joint pliers
- A pointed toil (if your finger doesn’t work!)
- Non-metal scrubber or sponge
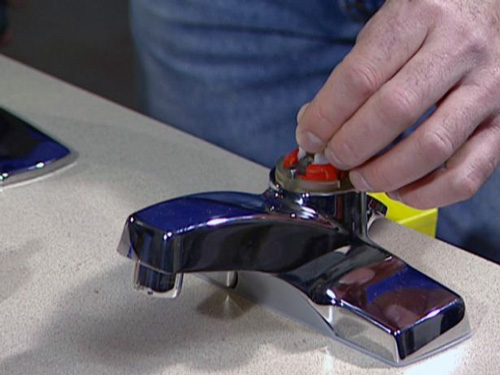
1. Remove the Lever and Cap
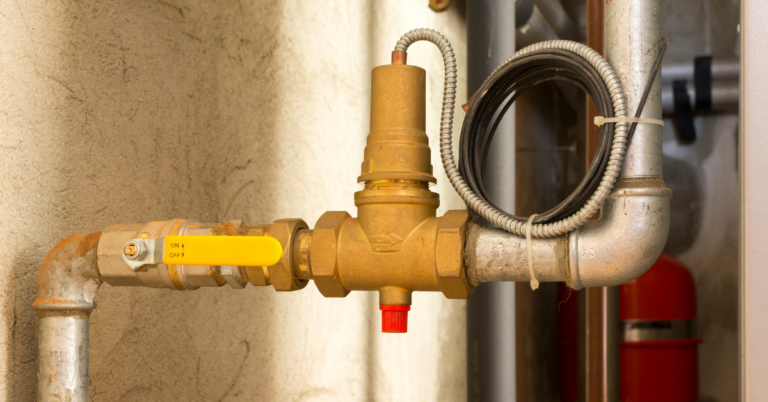
- If your ceramic-disk valve is leaking, the first step is to shut off the water supply to the fixture (the faucet you’re working on).
- Under the lever, a screw holds the lever to the lever post. Use a screwdriver to unscrew it.
- Do NOT try to unscrew it with a knife because you might damage it.
- Loosen the screw until you can raise the lever off the post. You might have to gently pry it off with a large screwdriver.
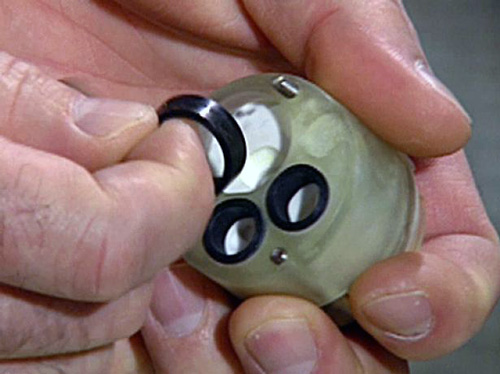
2. Remove the Cartridge and Seals
- Lift off or unscrew the decorative cap that covers the cartridge.
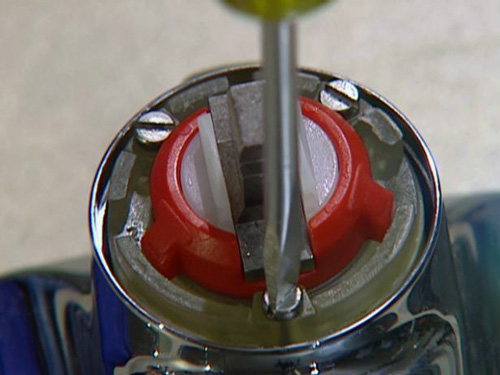
- Loosen the screws holding the cartridge to the faucet body and lift out the cartridge.
- You’ll find a set of seals on the underside of the cartridge: pull them out with your fingers. If you can’t, use a pointed tool but be careful not to scratch the cartridge.
- Check the seals for wear and tear (if they’re too far gone, just replace them). This is a common issue if your ceramic disk faucet is leaking.
3. Clean, Replace, and Reassemble
- Check the openings for sediment buildup.
- If you find any, use a nonmetallic scrubber or a sponge to clean the openings.
- When you’re done cleaning, put the old seals back or install the replacement seals.
- Reassemble the faucet.
- Turn the water back on and test for a ceramic disc faucet leaking.
- If it continues to leak after you’ve cleaned the cartridge and replace the seals, install a new cartridge.
Final Thoughts
I hope you can see how easy it is to clean and repair a ceramic disc faucet that’s leaking at the handle’s base. Usually, a simple cleaning of the disc’s inlet ports and seals is all you need to do. But you might need to replace the seals if they have worn.
In any case, go to your hardware store and buy the appropriate replacement kit for your brand and model. You’ll then have everything you need to fix your ceramic disc-valve faucet.
Related Resources
- Leaky faucet troubleshooting guide
- Why is my faucet leaking (5 real possibilities)
- 3 ways to fix a faucet leaking from its stem
- How to clean a faucet aerator (with video!)
- How to use plumber’s putty (with video!)
- How to unclog a kitchen sink sprayer
- Tips on choosing a new faucet (with checklist)
Everything you need to know about kitchen sink plumbing - How much does it cost to install a sink faucet?
- How to adjust a bathroom sink pop up drain
Call 1-Tom-Plumber
Don’t hesitate to contact us here or call us at 1-Tom-Plumber (1-866-758-6237) if you need help repairing or replacing your faucets.
1-Tom-Plumber’s certified team of plumbers and drain technicians respond immediately to any emergency plumbing, drain cleaning, or water damage problem. We also handle the excavation of underground water lines and sewer main lines. Our immediate-response team is available every day and night of the year, even on holidays.