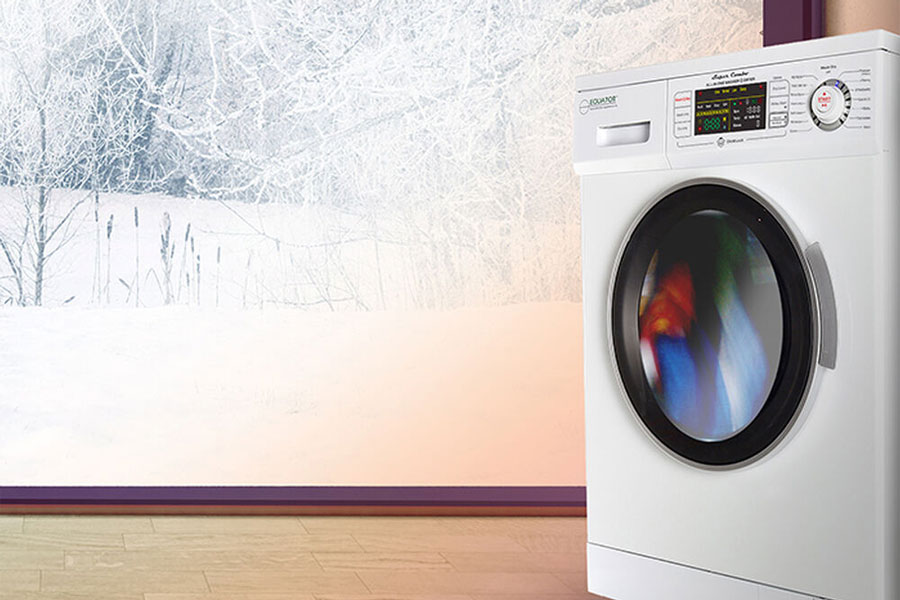
How to Winterize a Washing Machine (in 9 Very Simple Steps!)
Why in the world would you want to know how to winterize a washing machine?
Well, let’s say you’re running a summer camp with a laundry facility. Obviously, no one will be around to check on things during the freezing months of winter. Or perhaps you leave for a two-week Christmas vacation every year.
In either case, the last thing you want is to come back to is a water damage disaster and the need to purchase a new appliance. So, let’s winterize that washing machine instead and save a lot of frustration.
How Does a Washing Machine Freeze?
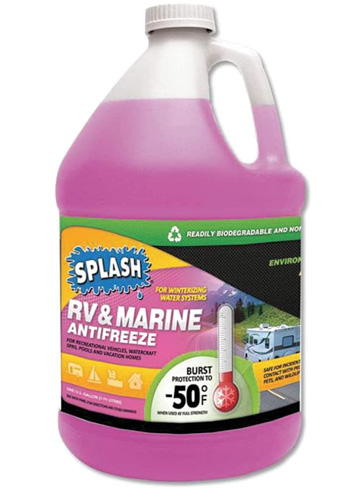
In freezing temperatures, water in a washing machine’s inlet valve and the pump will freeze. This can crack the valve and pump bodies. All you need to protect the machine is a half-gallon of non-toxic antifreeze, often labeled RV.
How to Winterize a Washing Machine
To handle this project, you’re going to need a 1/2-gallon of RV non-toxic antifreeze (propylene glycol), 1 cup of liquid detergent (for clothing, not dishes), and a pair of slip-joint pliers.
Instructions
- Turn off both water supply valves (for cold water and hot water).
- Pull the washer away from the wall to gain access to the back.
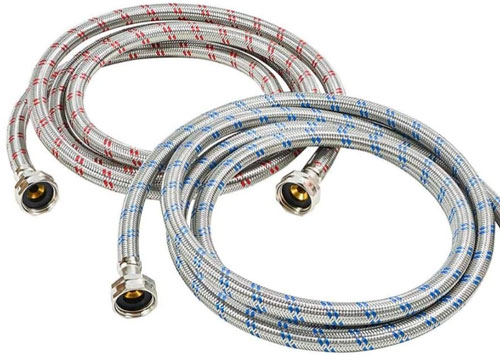
- Loosen the hose couplings at the washer with your slip-joint pliers. Then unscrew and remove the cold- and hot-water supply hoses.
- Turn the washer time control to FILL and the temperature selection controls to WARM WASH.
- Turn on the washer for 10 seconds.
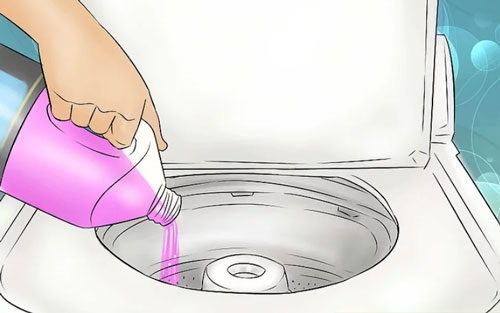
- Lift the lid and pour 1/2-gallon of the RV non-toxic antifreeze into the washing machine tub.
- Plug in the washing machine.
- Turn the washer timer control to DRAIN & SPIN and let the washer run for 10 seconds.
- The washer is now freeze-proof. To use it again, reconnect the supply hoses, pour 1 cup of liquid clothes detergent into the washer, and run the empty machine through a complete cycle (see PRO TIPS below for more details).
PRO TIPS: Before you reconnect the washing machine when you return, make sure to check the hoses for dry rot (you’ll notice cracking on the hose). This can happen if you’ve been gone a long time, and it will lead to leaking, burst pipes, and costly water damage. If you do have a bad hose, take it to the hardware for a replacement. If the hoses look good, simply run water through them (into a bucket) for a bit before reconnecting them.
Final Thoughts: How to Winterize a Washing Machine
Winterizing your home is extremely important and many homeowners take on this DIY exercise when leaving for a while.
However, many also forget that their water-using appliances also need to be winterized. We hope this step-by-step guide on how to winterize a washing machine has been useful.
Related Resources
- How to fix a slow-filling washing machine (clean the inlet screen!)
- Cleaning a faucet aerator (very similar process!)
- How to replace a dishwasher water inlet valve
- How to unclog a single or double kitchen sink (with or without garbage disposal)
- Tips on choosing a new faucet
- How to troubleshoot a garbage disposal
- Remove hard water stains: the ultimate guide
- How to shut off your water
- Fix a leaky faucet: troubleshooting guide
- How to replace a kitchen sink strainer
- How to unclog a kitchen sink sprayer
Call 1-Tom-Plumber
Don’t hesitate to contact us here or call us at 1-Tom-Plumber (1-866-758-6237) if you need help with the supply lines or plumbing related to your appliances.
1-Tom-Plumber’s certified team of plumbers and drain technicians respond immediately to any emergency plumbing, drain cleaning, or water damage problem. We also handle the excavation of underground water lines and sewer main lines. Our immediate-response team is available every day and night of the year, even on holidays.

