What is a P-trap? (And Everything Else You Need to Know!)
Somebody says you need to replace your kitchen sink’s P-trap. You immediately think, “What is a P-trap?”
Then, quickly your second thought is, “I have no clue how to replace a P-trap!”
We’re going to tell you everything you need to know about P-traps and how to replace them in this article. You will be so happy to know how easy it is.
What is a P-trap?
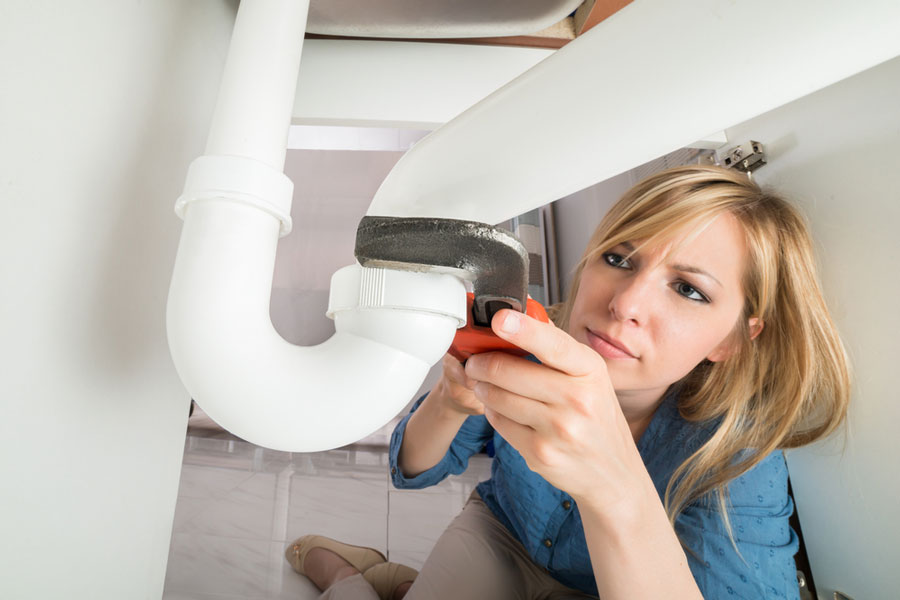
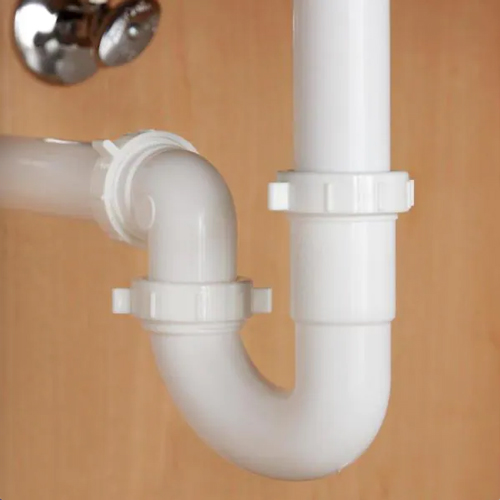
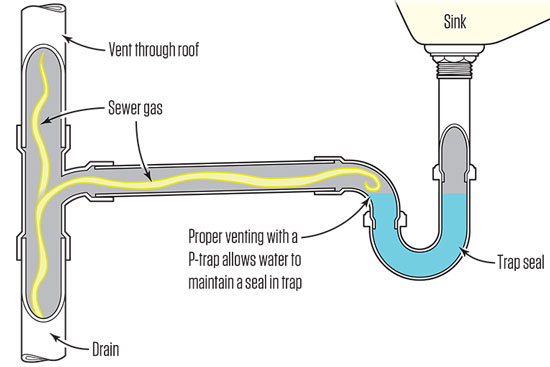
P-traps in sink or toilet drains use trapped water to block sewer gases from entering your home. They get their name by resembling a P that has fallen on its side (the looping part of the P faces down). The main part of the P-trap — the area that traps water — has a U shape.
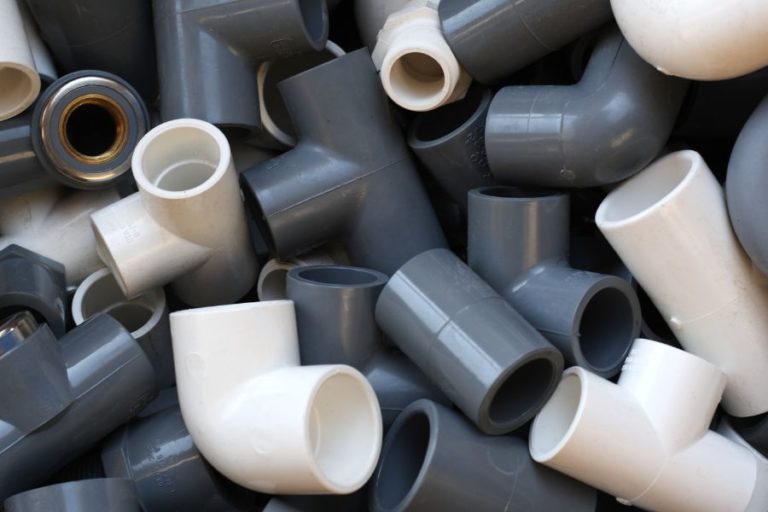
Plumbing traps usually consist of plastic (such as PVC) or metal and come in various shapes and sizes. Here are some of the different types of traps:
- P-trap
- S-trap (now illegal)
- Floor trap (or Nahni trap)
- Gully trap
- Intercepting trap
- Bottle trap
- And many more
Despite having different applications, all traps have the same function. They prevent harmful or foul-smelling gases from coming up through the drain system and into your home.
How Does a P-trap Work?
The P-trap is a one-way drain system. Water flows down through the drain and out, but sewer gas cannot come from the other direction
How does it do this?
Okay, here’s an example. You’ve just run your kitchen faucet. Water is flowing down through the drain, past the P-trap, and out through the trap arm.
When you turn off the flow of water, the force of gravity and the shape of the P-trap will force some of that water to trap at the bottom of the U (also called a ‘dip’).
As a matter of fact, the water trapped in the dip keeps gases (from your sewer system) from coming into your home.
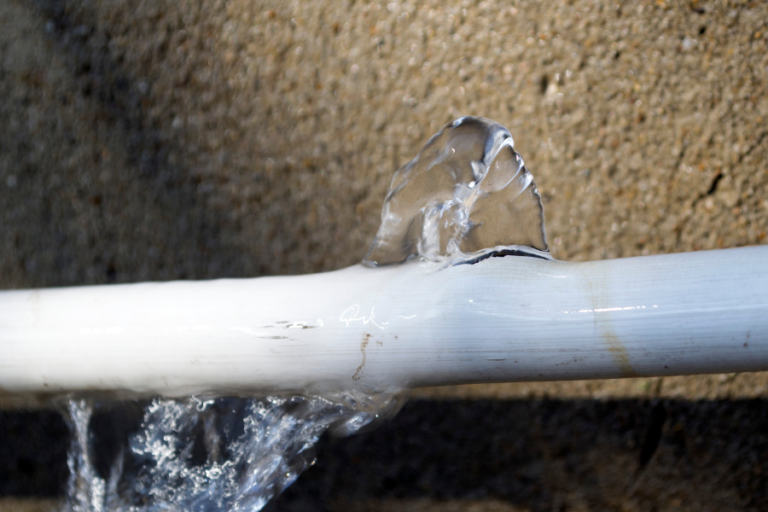
It’s this simple but clever drain system that protects you and your family. So, keeping your P-trap in good health is also good for your health. In addition, water leaks can cause lots of damage to your home, especially the flooring below the drain. More so, water damage (and floor restoration) as you know can be quite expensive.
How to Replace a P-Trap
Thankfully, replacing a P-trap is as simple as understanding how it works. Anyone can handle this as a DIY plumbing project. The replacement process will take about 15 minutes if you prepare properly.
Here’s What You’ll Need:
- Bucket
- Old rag or washcloth
- Adjustable or tongue-and-groove wrench
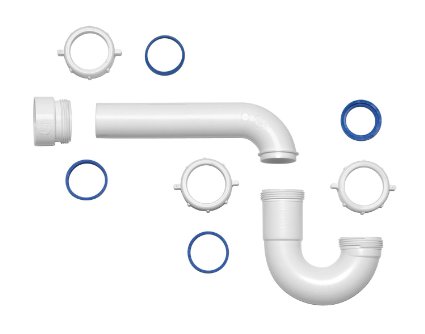
- P-trap replacement kit
Step-by-Step Instructions
- Turn off water
In most every drain system (whether your kitchen or bathroom sink), there is a water shut-off valve for that specific faucet. It’s located under the sink, against the wall. Simply turn off the water.
- Place bucket under trap
Take your bucket and place it under the trap. This will catch any water or debris that falls or gets cleaned out of the trap.
- Remove clean-out plug (if you have one)
If your P-trap has a clean-out plug located at the bottom of its U shape, remove it by turning it counterclockwise. The water in your trap will empty into the bucket. When done, you can empty the bucket into your toilet (not the sink!). Skip this step if you don’t have a clean-out plug.
- Remove the P-trap
Using the adjustable pipe wrench, loosen the trap’s two slip nuts by turning them counterclockwise (as viewed from beneath). If you have a P-trap that is exposed to view (before and after the job is done), wrap the slip nuts in a washcloth before using the wrench. This will protect them from being scratched.
- Replace the P-trap
With the new P-trap parts you purchased from your hardware store (we recommend taking the old trap and asking for a similar replacement – do not mix/match different types of pipe materials.
Slide on the old nuts, then slide on the washers (both are included in your replacement kit). Fit the new trap in place and tighten the nuts with your wrench. - Test for leaks
A plumbing job is never done until it has been successfully tested. Turn the water shutoff valve back on. Now run water into the sink drain and check closely for leaks. If you see a leak, you probably need to tighten the nuts as needed.
Frequently Asked Questions
If you do it yourself, replacing your P-trap should only cost a bit of your time and perhaps $5-$20 (on the low end) for a plastic replacement kit. A metal P-trap will cost between $15-$40. The cost of a P-trap kit is largely affected by quality, size, and material used.
Yes, P-traps are needed in every plumbing fixture to prevent sewer gases from entering your home through your sewer system.
The water in your P-trap has probably evaporated and is no longer blocking sewer gas from coming back into your home. Try pouring one-half gallon of water back into the trap.
No. S-traps are no considered illegal and against plumbing codes. Unless there is a structural reason to use a different type of trap, you should always replace a P-trap with a similar P-trap.
Yes. A vent is required so that the sewer gas can escape the house safely. The vent should always be located after the P-trap, not before it.
There are four common reasons for replacing a P-trap: it is busted or split from age or corrosion; the seals are no longer watertight despite tightening; water has evaporated from the trap; and a new sink installation doesn’t fit the current drain system.
Final Thoughts
In conclusion, replacing a p-trap isn’t as intimidating as it might seem. Overall, this project is fairly inexpensive and doesn’t take up that much time. More so, anybody can do it. Just follow the step-by-step instructions and you will be set.
Call 1-Tom-Plumber
If you need help with any kind of drain repair or replacement, don’t hesitate to contact us or call us at 1-Tom-Plumber (1-866-758-6237). We will immediately respond to and handle any emergency plumbing, drain cleaning and drain clearing, and water damage problem, including excavation of underground water lines and sewer main lines.

