How to Install Drywall: Simple Step by Step Guide
If you’re reading this right now, you probably aren’t too sure how to install drywall, also known as plasterboard and sheetrock (it has many names, actually).
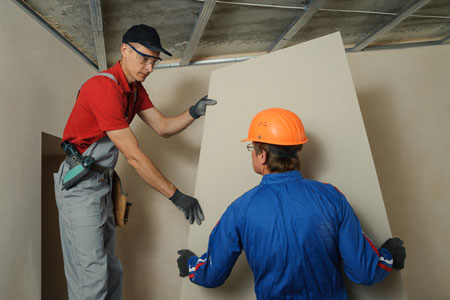
Frankly, hanging drywall is labor-intensive. So, you probably only want to do this with the help of a friend. Or better yet, on the first attempt, hire a pro to guide you through the process. It’ll be well worth it as an experienced installer will have loads of efficiency and quality control learned over many years.
Let’s go over the basics for installing drywall.
What is Drywall?
Almost everyone’s heard of it, but what is it really? Drywall describes the panels mostly used in the construction of walls and ceilings of houses and buildings. These panels are consist of calcium sulfate dehydrate (or gypsum).
Gypsum is everywhere. In fact, it’s the main ingredient in fertilizer, school blackboards, sidewalk chalk, and drywall. One variety of gypsum is even used for sculptures. Gypsum in its solid form is extremely safe, which is one reason for its many uses. You can even breathe it in. However, its powdered form can be irritating.
Until about the 1950s, lath (a thin, flat strip of wood) and plaster were used in the construction of walls and ceilings. Today, this process has been replaced by drywall, a much quicker and easier alternative.
How to Install Drywall
Here are the steps you’ll need to follow to install a piece of drywall. It takes practice to do well but stick to it. If you become adept at this process (really good drywall professionals call it an art), you could have yourself a new career that pays pretty well.
- Measure the wall’s surfaces and ceilings that you plan on drywalling.
- Decide on whether you will install drywall panels horizontally or vertically.
- Make sure to attach the ceiling panels first when attaching drywall.
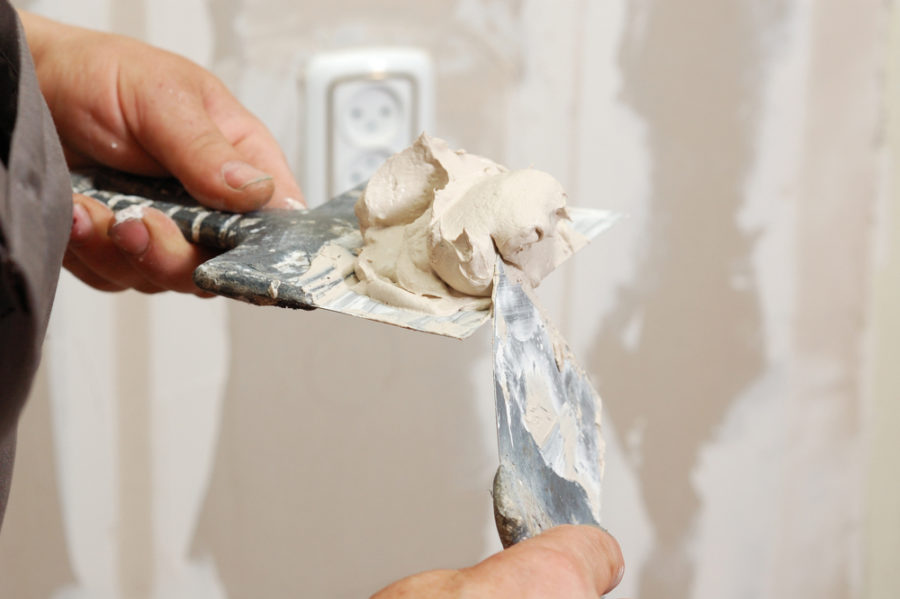
- Using your measurements, figure out how much drywall you need to cut off each panel. Use a T-square and a sharp knife to score a line out of the panel. And break off the piece of the unneeded drywall.
- Attach the drywall panels to all ceiling joints and perimeter framing using drywall screws. Be sure to space all screws about 12 inches apart. Screw in the screws as deep as you can without breaking the paper.
- When attaching drywall panels to the walls, first attach them to the top. Make sure you put pressure so it fits tightly against the ceiling panels. On the walls, be sure to space screws roughly 16 inches apart. Make sure the correct side is facing outward: the side with brown paper should face the frames.
- When installing the bottom drywall panels, leave a half-inch gap between the bottom of the panels and the floor.
- After you place all the drywall panels, sand each panel either by hand or with an orbital sander.
- Final step: before you begin painting, you must remove any and all dust off of the drywall panels using a wet cloth.
- Once you’ve finished sanding and touching up with a wet cloth, your wallboards are now ready for primer and paint!
Final Thoughts
In conclusion, hanging drywall can be difficult if you don’t have an abundance of patience. But if you’re one of those who likes following a process, you’ll have what it takes. You just need the right frame of mind, the right tools, and maybe a friend to lend a helping hand.
BONUS TIP: Here’s a little trick that will save you some frustration. Hang ceiling drywall first, then the walls. Trust us, the ceiling is the most difficult panel to hang. So, you’ll want to get this out of the way first.
Call 1-Tom-Plumber
Don’t hesitate to contact us here or call us at 1-Tom-Plumber (1-866-758-6237) if you need help with any problems that arise from water damage.
1-Tom-Plumber’s certified team of plumbers and drain technicians respond immediately to any emergency plumbing, drain cleaning, or water damage problem. We also handle the excavation of underground water lines and sewer main lines. Our immediate-response team is available every day and night of the year, even on holidays.
