How To Identify And Fix A Running Toilet (DIY Guide)
There’s a unique kind of irritation that comes with the perpetual whisper of a running toilet, a reminder of water and money incessantly slipping away. Yet, this household nuisance offers a perfect opportunity for DIY triumph, sparing you the cost of a plumber’s visit.
This blog unfolds the mystery of the ever-running toilet, guiding you through a straightforward diagnostic journey to a satisfying fix. From the silent leaks betraying your flapper’s fidelity to the tale-telling hiss of a rebellious fill valve, we’re diving deep into the bowels of toilet repair.
With essential tools and this guide, transform into a DIY plumbing champion, ready to fix your bathroom’s plumbing issues.
Understanding the Basics of a Toilet
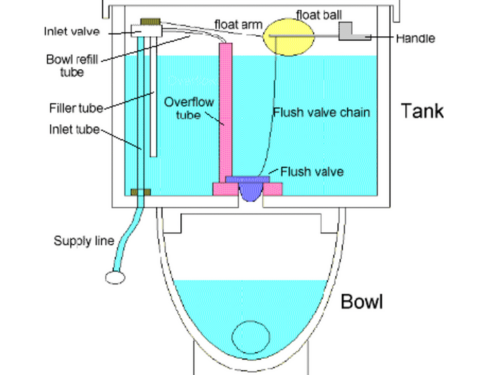
Source: https://dengarden.com/home-improvement/All-About-Toilet-Parts
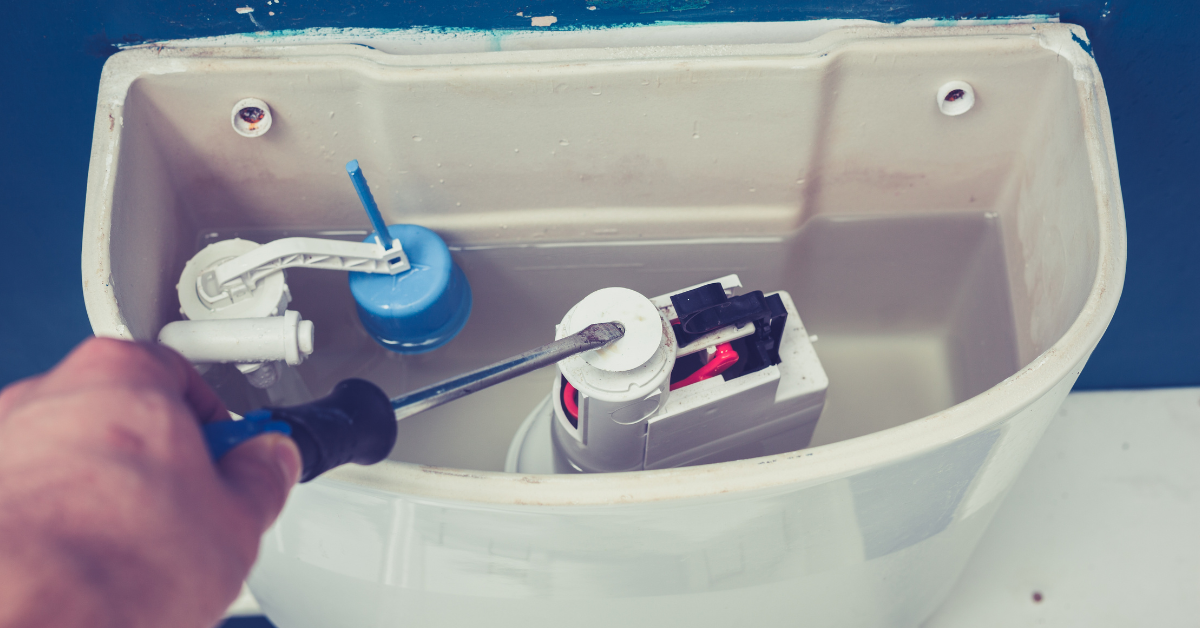
Before you start, it’s crucial first to gain a basic understanding of your toilet’s mechanics. To begin with, a toilet primarily consists of three main parts: the tank, the bowl, and the flushing mechanism. Specifically, the flushing mechanism itself encompasses several key components, including the fill valve, the flush valve, and the flapper or flush ball.
Diagnosing Your Running Toilet
Identifying the exact cause of a running toilet is your first step. Listen closely; the sound your toilet makes can offer the first clue. Firstly, a constant hissing sound typically indicates an issue with the water inflow, such as a faulty fill valve or an improperly adjusted float. On the other hand, if the water runs intermittently, the flapper might not be sealing correctly.
Detailed Fixes for a Running Toilet
- Flapper Issues:
- Inspection: Check for signs of wear or damage. A flapper that doesn’t create a watertight seal will allow water to leak from the tank into the bowl.
- Replacement: Turn off the toilet’s water supply. Then, flush to empty the tank. Unhook the old flapper and attach a new one, ensuring it’s the correct size and type for your toilet.
- Water Level Adjustments:
- Overflow Tube: Ensure the water level is about an inch below the top of the overflow tube. If it is too high, water will continuously leak into the tube, causing the fill valve to run constantly.
- Float Adjustment: Older toilets often feature a ball float attached to an arm, and bending this arm can effectively adjust the water level. Conversely, newer models are equipped with a cup-style float that moves up and down the fill valve shaft; to adjust its height, this usually involves turning a screw or sliding a clip.
- Fill Valve Replacement:
- If adjusting the float doesn’t resolve the issue, you may find that you need to replace the fill valve. Initially, after turning off the water and draining the tank, proceed to remove the old valve by unscrewing it from the tank’s bottom and disconnecting it from the water supply line. Subsequently, install a new valve, making sure to adjust the float to the correct height, and then carefully reconnect the water supply.
Additional Tips for Success
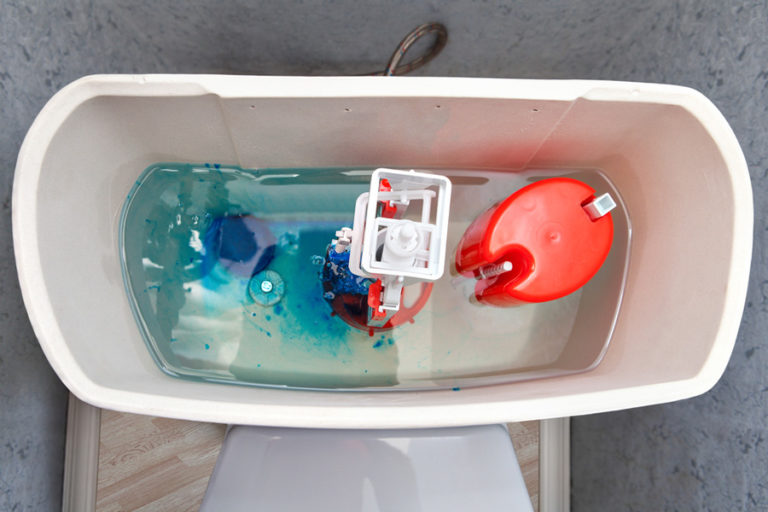
- Seal Check: Apply food coloring to the toilet tank’s water and wait 30 minutes without flushing. If color appears in the bowl, it confirms a leak through the flapper.
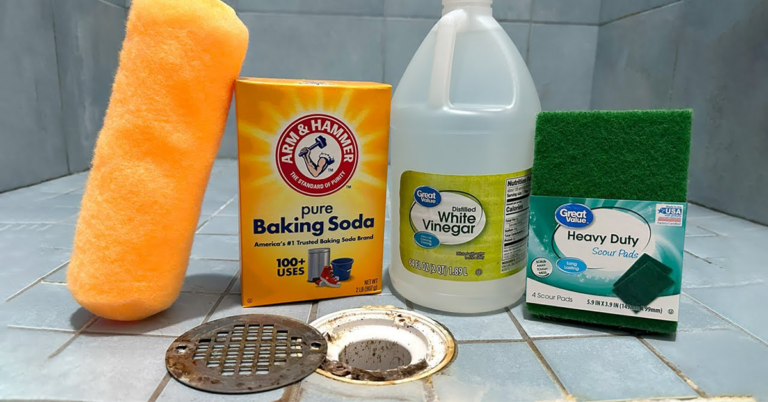
- Regular Maintenance: Regularly cleaning the tank and its components can play a crucial role in preventing buildup that might cause parts to fail. It’s important to avoid harsh chemical cleaners that can degrade the flapper and other components, opting instead for milder, toilet-safe options.
- Component Compatibility: Always ensure that replacement parts are compatible with your toilet model. Using the wrong type of flapper or fill valve can lead to more issues.
- Professional Help: While many toilet repairs are straightforward, don’t hesitate to call a professional plumber for complex issues, especially if you encounter leaks that could indicate a more severe problem.
Preventative Measures
Regular checks can effectively prevent future issues. To start, inspect the components in your toilet tank every few months for signs of wear or buildup. Additionally, test the flush mechanism’s operation to ensure everything is working smoothly. Moreover, it’s important to educate your household about what shouldn’t be flushed down the toilet. This is because improper items can severely damage the flushing mechanism or cause clogs. These clogs might back up into the toilet, mimicking the symptoms of a running toilet but requiring different repairs.
Wrapping Up
A running toilet leaks thousands of gallons annually, raising your water bill and harming the environment. With this guide, you’re equipped to tackle the most common causes of a running toilet, from diagnosing the issue to making the necessary repairs. Remember, being proactive about toilet maintenance can save you time and money in the long run.
By following these steps and tips, you’ll ensure your toilet runs efficiently and contribute to water conservation efforts, making every flush count for the right reasons.
Call 1-Tom-Plumber
Don’t hesitate to contact us here or call us at 1-Tom-Plumber (1-866-758-6237) if you need any plumbing, drain cleaning, or excavation service. 1-Tom-Plumber’s certified team of plumbers and drain technicians respond immediately to any emergency plumbing, drain cleaning, or water damage problem. Furthermore, we also handle the excavation of underground water lines and sewer main lines. Our immediate-response team is available every day and night of the year, even on holidays.